


Tips on Preparing Your Negatives for Digital Conversion
Tips on Preparing Your Negatives for Digital Conversion

How Larsen Digital works

Scanning Basics
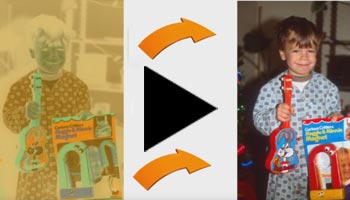
Digitizing Negatives
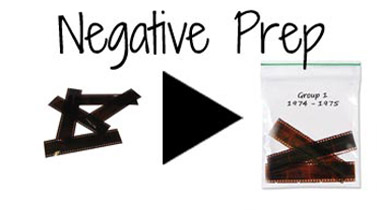
Negative Prep
Step 1: Un-Organized Negatives
If you don't know the order you want your negatives scanned in, just send them into us as they are; we will scan them and we can upload them to our Online Image Organization system. This system allows you to organize your images after we scan them.
Step 2: Negative Sleeves
If you know what is on your negatives and can determine groups or the order you want it scanned, just let us know. If they are in negative sheets you can leave them in the sheets.
If you know what is on your negatives, and can determine groups, or the order you want it scanned; just let us know. If they are in negative sheets you can leave them in the sheets.
If you know the title of your negative sheets, just label the sheet with your title. If you want them scanned in a specific order within the sheet, just let us know the order.
Step 3: Loose Negative
If you don't have the negative sheets, you can place your negatives into plastic bags to protect them. If you know the title of your groups, just title the bag.
Step 4: Instructions
Make sure you include instructions clearly stating the order you want your negatives scanned in.
Step 5: Negative Restrictions
We do not have the ability to skip frames on a negative strip, we must scan all the negatives in a strip. If there are a few frames that you do not want you can always delete them in our online image organizer.
Film strips of less than 2 frames will incur an additional 50¢ per frame handling fee. A single frame cannot be fed into the scanner and therefore must be mounted into a 35mm slide mount prior to scanning.
We can't scan negatives that have anything attached to them, even along the sprocket holes. You must remove any plastic, adhesive strips before shipping your negatives to us.
For a full list of our handling fees Click Here
Step 6: Negative Groupings
We offer 1 group/folder for every ~30 negative frames you send in, so you can divvy your groups up however you want. For example, if you have 30 negative frames you will receive 10 groups/folders at no charge.
The first group could have 70 slides, the next could have 20, the next could have 30 and the last could have 70. If you need additional groups over the allotted amount it will be $2 per group.
*this does not apply to groups created in the online organizer; you can create as many groups online as you wish.
Step 7: Order Form
Fill out our order form, if you need help at any time, don't hesitate to call us at 1-800-776-8357.
Step 8: Package & Ship
If you live locally, just bring your negatives to our office during regular business hours, or you can use our drop off locations.
If you do not live locally, you can place all your items in a shipping box with packing material so that your negatives are not jumbled around in the box. Make sure you include your order form in your box so we know who the negatives belong to when they arrive.
We accept shipments from all carriers, so you can pick whichever carrier is most convenient for you. We do recommend either UPS or Fed Ex because they offer the ability to track your package.
We do not recommend using the Post Office to ship your negatives.
If you have different sizes of film, they will need to be scanned separately. We cannot intermix different sizes of film because each size requires a special scanner. Our Online Image Organizer will allow you to create the exact sequence after your images have been scanned.
Step 9: We Take Care of the Rest!
Once we receive your package we will notify you by e-mail that your package has arrived and the date we expect it to be completed. It's that easy!
